Outdoor Space Planning Around Your Barndominium
Outdoor Space Planning. Plan the outdoor space around your barndominium with practical guidance on site assessment, drainage, zoning, utilities, and phasing
You've got the barndominium floor plan, the builder is asking whether you want a shell or a turnkey package, and the lot still looks like an open stretch of grass. That's the point where many buyers make an expensive mistake. They plan the building down to outlet locations, then leave the driveway, patio, septic area, garden, shop access, and drainage for later.
On a rural site, “later” usually means after heavy equipment has compacted the soil, utility trenches have been backfilled, and the slab has fixed the building's orientation. Good outdoor space planning works in the opposite order. It treats the yard as a set of working rooms, maps those rooms beside the shell, and gives the builder clear instructions before the first major excavation.
Table of Contents
- Why the Yard Matters Before the Slab
- Reading the Site Before You Draw Anything
- Choosing the Use Zones That Earn the Best Spots
- Circulation, Hardscape, and the Outdoor Room
- Utilities, Storage, and Ancillary Buildings
- Phasing the Work From Pad to Planting
Why the Yard Matters Before the Slab
A buyer finalizes a barndominium floor plan, chooses a shell package, and assumes the yard will sort itself out. Then the driveway takes the flattest approach to the building, the septic field occupies the most useful open ground, and the future patio lands where trucks once staged steel and concrete. None of those decisions is necessarily wrong on its own. The problem is that nobody made them together.
The yard affects the building's orientation, porch location, utility entries, equipment movement, and finished grades. A covered outdoor room may need a substantial footing, while a detached garage needs reliable access and a workable relationship with the driveway. A garden needs sun and water. A septic field needs protected space. If those requirements aren't shown on one plan, the first contractor to mobilize tends to claim the easiest route.
Field rule: If a future outdoor feature needs excavation, power, water, drainage, or vehicle access, draw it before the slab is poured.
Shell scope changes the planning burden
The shell-versus-turnkey decision makes this more important. A shell-only builder may erect the structure while the owner coordinates clearing, grading, septic, well, utility trenching, driveway work, and exterior living areas through separate contractors. That can provide control, but it also creates more handoffs. A site-preparation builder directory can help you identify contractors whose scope may include the ground work that shell buyers often have to arrange themselves.
A turnkey provider may coordinate more of the sequence, but you still need to ask what “turnkey” includes. Outdoor kitchens, detached structures, grading, irrigation sleeves, lighting circuits, and final planting may sit outside the contract. Put every requested item on a scope sheet, then mark who supplies it, who installs it, and when the work must occur.
Grade is part of the building plan
The slab establishes a fixed elevation. If the surrounding grade rises toward doors, water will test thresholds and porch edges. If the builder pushes all runoff toward the preferred patio location, the outdoor room may require drains, retaining work, or a different finish elevation.
Plan the porch, driveway, septic envelope, outdoor rooms, and equipment routes as a connected system. Once that map exists, the builder can sequence earthwork and utilities without guessing what the finished property needs to do.
Reading the Site Before You Draw Anything
Start with a site walk, not a sketch. Bring a 100-foot tape, flags, a four-foot level or phone inclinometer, a notebook, and a camera. Walk the property in different weather and light, because a dry morning can hide the route that stormwater takes across the lot.

Record the ground before the features
Mark high points, low points, swales, exposed roots, rock outcrops, and areas where machinery will struggle. After rain, follow the water from the proposed building pad toward the road or lower ground. Note puddles that remain after a full day. On bare soil, a controlled hose test can reveal whether water infiltrates, runs toward a structure, or collects in a shallow depression.
Look at the soil as evidence. Gray mottling and a sour smell can indicate prolonged saturation. Deep topsoil over clay can signal shrink-swell movement. Those observations don't replace professional soil, septic, or engineering evaluations, but they tell you where to ask better questions before placing a patio, retaining wall, or outbuilding.
Follow the sun and wind
Photograph the same tree line, pole, or roof edge in the morning, around midday, and late afternoon. The changing shadow pattern gives you a more useful picture of shade than a general north arrow. A porch that looks south-facing on a drawing may still sit in afternoon shade from mature trees or a neighboring structure.
Use flagging tape to observe wind, and check whether grasses, shrubs, or isolated trees lean consistently. A dining area exposed to the prevailing wind may need a screen or a different orientation. A fire feature needs careful separation from buildings, vegetation, and windows, subject to local requirements.
Locate constraints that don't move
Before drawing rectangles, flag:
- Water and power points: Mark the road-facing service entry, well head, meter location, and any existing lines.
- Wastewater areas: Confirm the septic tank and drain-field envelope with the installer, including required clearances.
- Legal constraints: Record easements, property lines, access rights, setbacks, and drainage restrictions.
- Existing assets: Note trees worth saving, fences, ponds, culverts, gates, and usable gravel.
Transfer these notes to a scaled base plan. University extension guidance, including Oklahoma State's landscape planning method, emphasizes site evaluation, needs analysis, and bubble diagrams before detailed placement. That sequence prevents a visually attractive plan from ignoring the ground conditions that control it.
Choosing the Use Zones That Earn the Best Spots
A rural yard can hold more ideas than it can support well. The answer isn't to squeeze every feature onto the property. Rank the activities first, then give the top two or three the easiest access, strongest comfort, and clearest utility path.
An outdoor kitchen beside the mudroom or main kitchen usually deserves a level pad close to the house. A garden may need more distance, but it needs reliable sun and water. A fire-pit retreat can occupy a tucked-away corner, provided the site supports safe separation and comfortable circulation. A workshop or equipment court may be practical near the driveway, even if it isn't the view you want from the porch.
Use your barndominium floor-plan research to test how interior doors, porches, and service spaces connect to these outdoor rooms. A kitchen door that opens toward the proposed dining pad is more useful than a large patio that requires carrying food around the building.
Compare the zones before committing
| Use Zone | Sun | Privacy | Slope Tolerance | Utility Needs | Best Placement |
|---|---|---|---|---|---|
| Lounge or fire-pit area | Partial sun can work | Moderate to high | Low to moderate | Lighting, occasional power | Near a view, but away from bedroom windows and prevailing wind |
| Outdoor dining | Comfortable shade is valuable | Moderate | Low | Power, lighting, possible water and gas | Close to the kitchen or mudroom on a level pad |
| Cooking zone | Morning or filtered sun helps comfort | Moderate | Low | Water, power, gas, drainage | Beside the kitchen, with service access |
| Kitchen garden or orchard | Strong sun | Low to moderate | Low | Water, irrigation | Open ground away from large tree roots |
| Pet run | Shade and drainage matter | Moderate | Moderate | Water and secure fencing | Near a service side of the house, not at the main view |
| Quiet retreat | Mixed light can work | High | Moderate | Lighting, occasional power | A screened corner with a favorable breeze |
| Workshop or equipment court | Less important than access | Low | Moderate | Power, possibly water | Near the driveway and utility route |
The 2026 Houzz Outdoor Trends Study reports that renovated outdoor spaces commonly combine several functions, including lounge seating, dining, quiet retreats, gardening, and cooking areas (Houzz's outdoor trends study). That supports a practical conclusion, not a shopping list. A multi-use yard needs zoning and circulation, not a pile of disconnected features.
Pick the activities that will carry most of your outdoor life. Give them the best ground. Let secondary features share edges, serve more than one purpose, or wait for a later phase.
Circulation, Hardscape, and the Outdoor Room
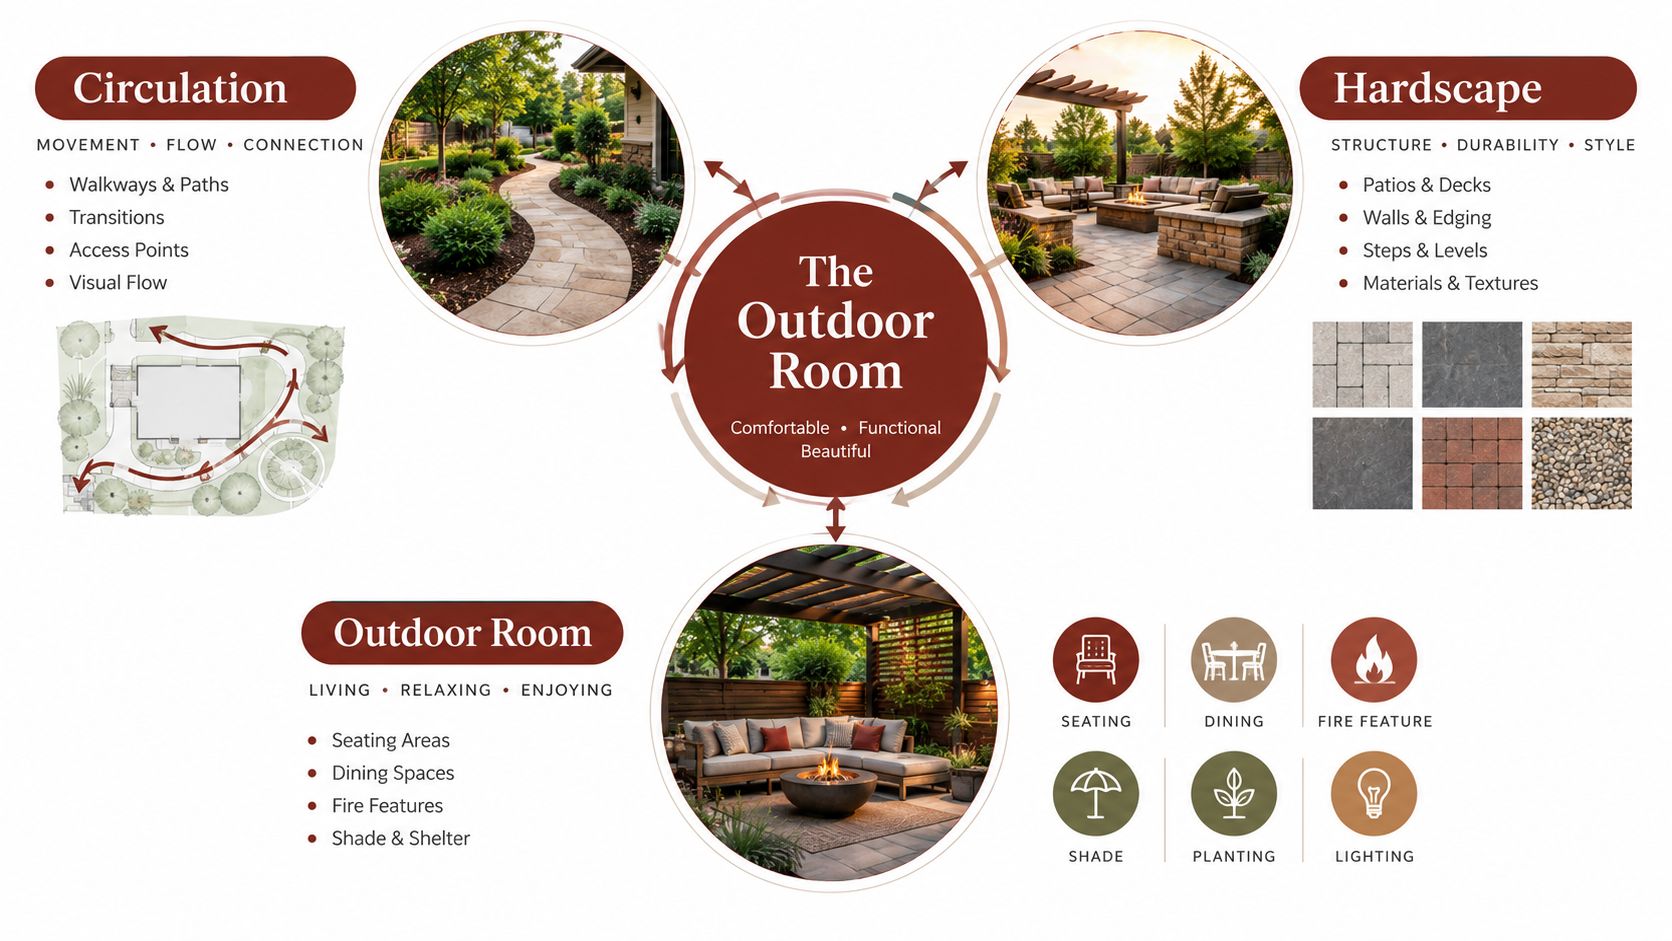
A yard can contain all the right zones and still feel awkward if the routes between them are too narrow, muddy, or indirect. Draw circulation before selecting furniture. The primary loop should accommodate a wheelbarrow and, where appropriate, a small utility vehicle, while secondary paths can serve people on foot.
For a practical starting point, use a four-foot primary route and three-foot secondary connectors. Those dimensions are planning guides, not code requirements. Check local accessibility, fire, building, and equipment rules before construction, then widen routes where doors, gates, slopes, or turning movements demand it.
Size pads around real use
Measure the furniture, grill, firewood storage, planters, and service clearances that will occupy each pad. A dining area needs space to pull out chairs and move around the table. An equipment court needs turning room, not just a rectangle that fits the parked machine.
Material selection follows the site. Concrete offers a clean, durable surface but needs careful joints and base preparation. Pavers allow repairs and pattern changes, though settlement can create uneven edges. Compacted gravel is forgiving and rural-friendly, but it migrates into grass and needs periodic raking. Stabilized decomposed granite can feel more finished than loose gravel, but it still depends on proper drainage and edge control.
Freeze-thaw cycles, snow removal, slope, and drainage corrections should drive the choice. A material that looks good on a flat display yard may perform poorly after the builder reshapes the site.
Build a real outdoor room
The main outdoor room usually belongs near the barndominium. Define it with a roof or pergola, a clear threshold from the kitchen or mudroom, wind screening, lighting, and a surface that stays usable after rain. Privacy can come from building orientation, a planted buffer, a fence, or a low berm. Each solution has a different maintenance burden and relationship to setbacks.
Keep leaf-heavy areas away from narrow paving edges. Large trees can provide welcome shade, but they also create litter, roots, and mowing obstacles. For design support, a local outdoor-living contractor such as VBD Outdoor Living may be useful to compare hardscape and shelter options with the building's actual access points.
Utilities, Storage, and Ancillary Buildings
Utility placement is a sequencing problem disguised as a layout decision. Water, power, gas, septic, driveways, and outbuildings all compete for clear routes across the same ground. Decide those routes before the slab, driveway paving, and major planting close access.
The main electrical service often works best on the road-facing side of the building, but the shortest route isn't always the best route. Reserve conduits toward the outdoor kitchen, shop pad, future lighting, gate, well equipment, and detached garage. Do the same for water spigots and gas where those services make sense. Keep utility corridors documented, photographed, and dimensioned from permanent building corners.
Septic planning needs professional confirmation. Tanks and drain fields must observe local requirements relating to wells, driveways, buildings, property lines, and replacement areas. Don't place a patio, shed, or tree canopy over a field only because the ground looks open today.
Place secondary buildings by work pattern
A detached garage belongs where vehicles can reach it without crossing the primary outdoor room. An equipment shed should serve the working side of the property. An RV cover needs turning clearance, stable access, and a route that won't be blocked by future landscaping. A chicken coop, wood storage area, or workshop may need screening from the porch without being hidden from service access.
Shared trenching can reduce duplicated excavation, but only when the utility designer and local authorities approve the arrangement. Never combine lines casually or assume a builder's typical trench detail suits your site.
| Element | Typical Setback / Rule of Thumb | Coordination Note |
|---|---|---|
| Main service entry | Road-facing side is often efficient | Confirm utility-provider requirements before fixing the meter location |
| Outdoor power | Route toward planned rooms and outbuildings | Install conduit before paving or concrete closes the corridor |
| Water spigots | Place at the house, garden, and service areas | Protect against freezing and coordinate with the plumbing plan |
| Propane or gas | Keep tank and lines accessible | Confirm fire, property, and utility clearances locally |
| Septic tank | Follow the approved septic design | Keep driveways, structures, and heavy traffic outside protected areas |
| Drain field | Reserve the full approved envelope | Don't plant deep-rooted trees or build over the field |
| Detached garage or shop | Favor direct equipment and vehicle access | Screen it from main outdoor rooms without blocking service routes |
| RV cover | Plan the approach, turning path, and pad | Check overhead clearance and avoid conflicts with septic or utilities |
| Storage shed or coop | Place near the work area | Provide drainage, service access, and a manageable screening strategy |
The builder contract determines who coordinates this work. A shell package may leave trenching and stub-outs to separate subcontractors. A more complete provider may include them during the main build. Compare the written scope, not the label, and price the cost of missing sleeves, conduits, and water lines before choosing the delivery model.
Phasing the Work From Pad to Planting
A reliable build sequence follows the order in which heavy work closes access. Put the decisions that require excavators, trenchers, septic crews, and concrete trucks at the front. Leave plants, lawn, and decorative finishes until the finished grades have proved themselves.
Phase one covers the ground
Before construction, complete the site walk, soil and septic work, rough grading, driveway base, retaining structures, and primary utility trenching. Establish the building pad and confirm where stormwater will travel once the slab and porch are in place.
Use clear release checks:
- Before excavation: Approve the scaled site plan showing the building, driveway, septic areas, outdoor rooms, outbuildings, and utility corridors.
- Before backfill: Photograph and measure every buried conduit, water line, gas route, and sleeve from fixed reference points.
- Before concrete access closes: Confirm that equipment can still reach future pads and ancillary buildings.
Phase two belongs to rough-ins
During the build, install outdoor power, water, gas, lighting circuits, and conduit sleeves at the locations shown on the plan. Put irrigation sleeves under future patios, walks, and driveways before concrete or compacted base makes the route inaccessible.
A shell buyer should assign these tasks to named contractors. A turnkey buyer should require them on the scope sheet, with locations, sizes, and inspection responsibilities documented. “Future-ready” has little value unless the builder identifies what was installed.
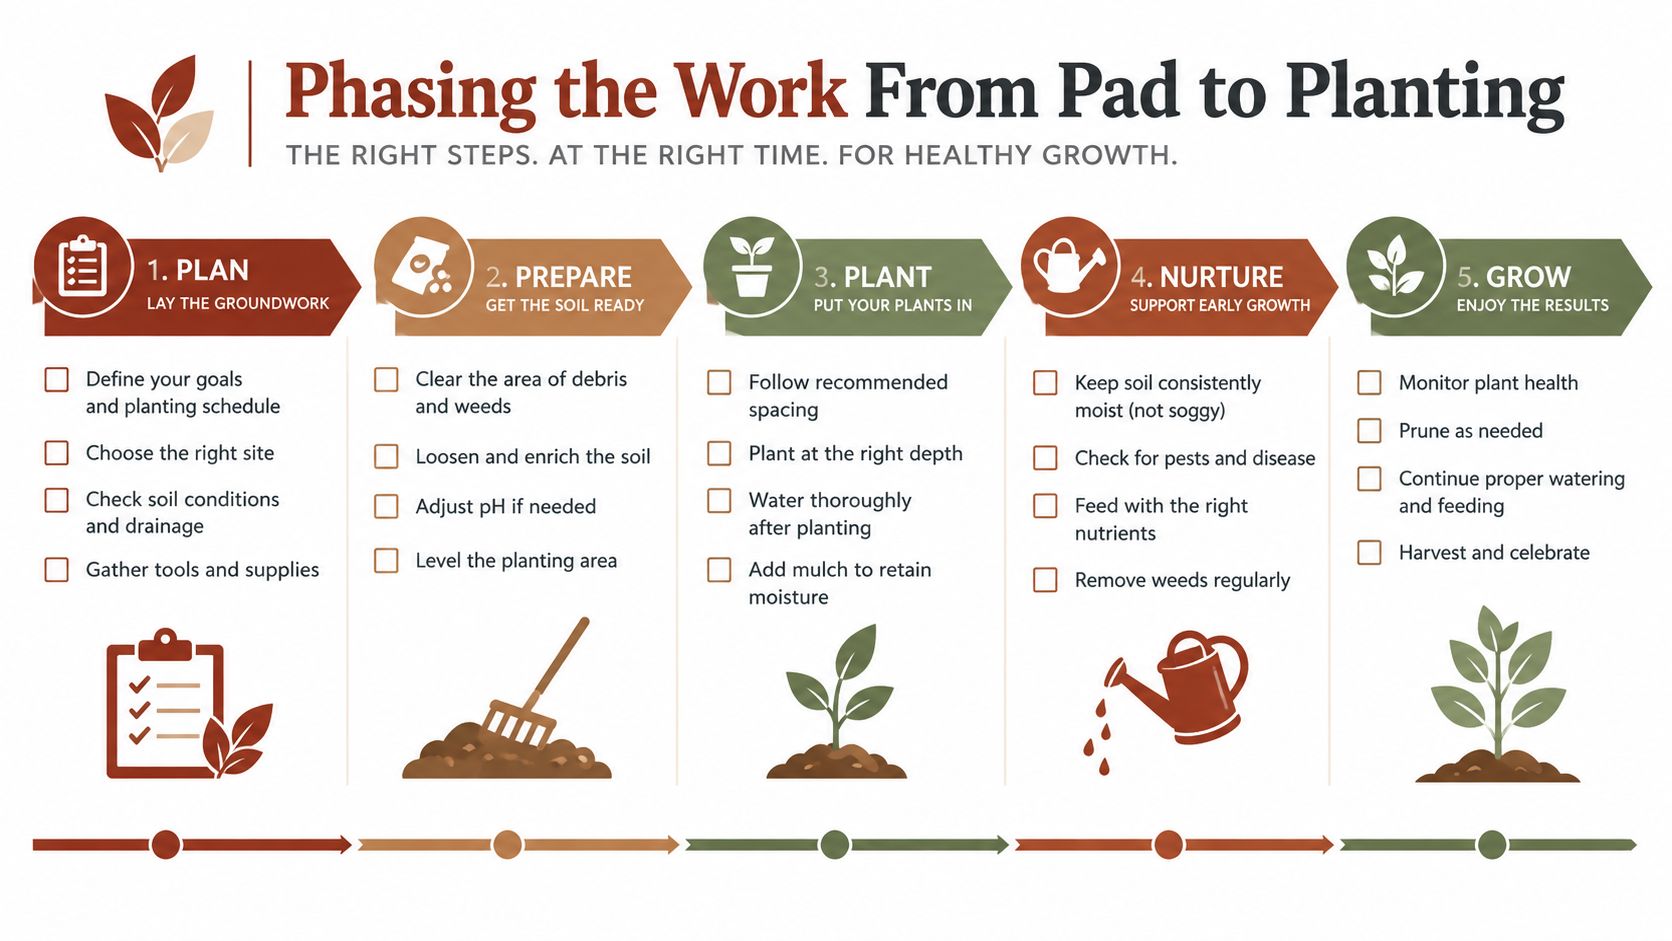
Phase three finishes the living landscape
After the building and major equipment leave, complete final grading, hardscape, soil amendment, planting, irrigation, and lighting. Check door thresholds, downspout outlets, patio edges, and low spots during rain before establishing lawn.
The Landscape Architecture Foundation's performance framework treats site selection, assessment, design, construction, and operations as connected stages, with attention to soils, vegetation, hydrology, and human health. That mindset suits a barndominium site. Don't judge the yard only by how it looks on move-in day. Watch drainage, heat, shade, wind, plant survival, and maintenance demand through the first seasons, then adjust the zones that aren't earning their space.
If you're comparing shell and turnkey builders, use BarndoBuilderList to research barndominium-friendly companies by state or ZIP code, then ask each candidate to price the site-prep, utility, and outdoor-room scope in writing. Bring your completed site plan to those conversations so you're comparing actual responsibilities rather than vague package names.
- outdoor space planning
- barndominium
- site planning
- yard zoning
- hardscape design