Barndominium Construction Process: A Complete 2026 Guide
Learn the full barndominium construction process from permits to move-in. Get clear timelines, decision checkpoints, and practical tips for a smooth build
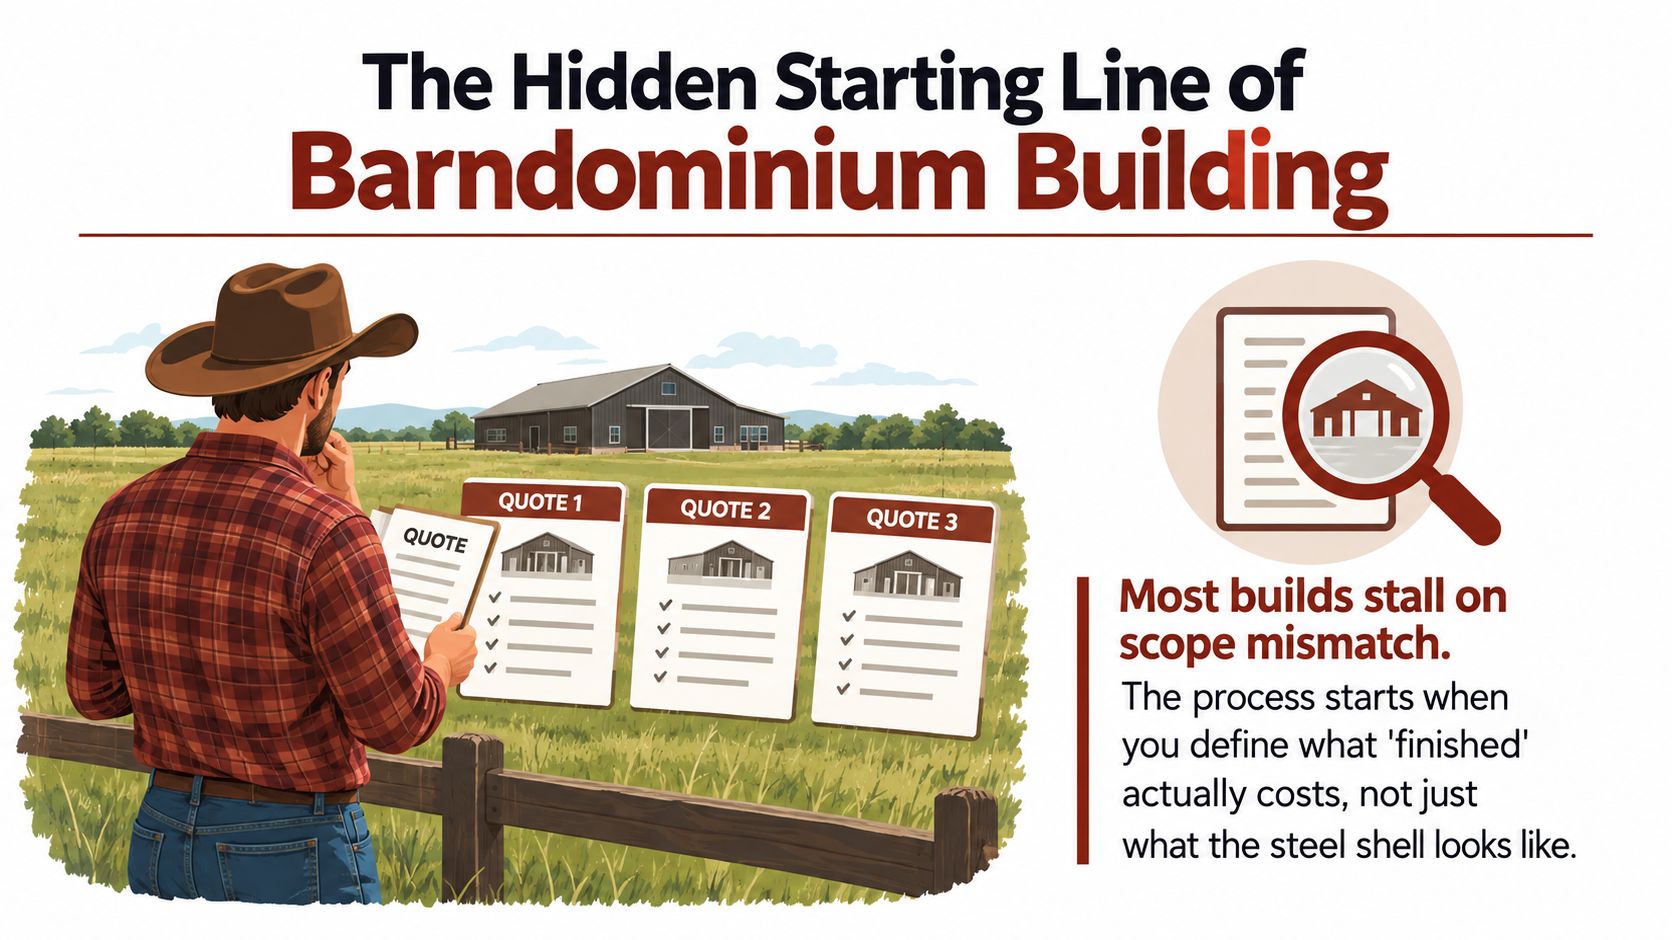
You're standing in a pasture with three builder quotes in one folder and three different definitions of “finished.” One price covers a steel shell. Another includes a slab but excludes utility work. The third sounds turnkey until you notice that insulation, mechanical rough-ins, permits, and interior finishes sit in the fine print.
That's where the barndominium construction process really begins. Not when steel arrives, and not when concrete trucks pull onto the site. It begins when you decide what the building must include, confirm that the land can support it, secure a financing path, and identify the code requirements that will govern the design.
Table of Contents
- Where the Barndominium Build Actually Starts
- Shell Versus Turnkey and Why the Choice Changes Everything
- Getting the Land, Money, and Permits Lined Up First
- The Build Itself From Site Prep to Finishes
- How Long the Barndominium Construction Process Really Takes
- Choosing and Vetting a Builder With Confidence
- Your Move-In Checklist and Final Takeaways
Where the Barndominium Build Actually Starts
A barndominium is often marketed as a fast, straightforward build. The structural idea does have a long practical history. Rural builders began using telephone poles or wood posts with corrugated steel sheeting in the 1930s, then moved toward solid sawn posts after World War II. Metal-plate-connected wood trusses later enabled roof spans of up to 100 feet, while laminated posts supported taller buildings in the 1970s and 1980s. This architectural history of metal-frame housing.%20Metal-Frame%20Houses%20of%20the%20Modern%20Movement%20in%20Los%20Angeles-%20Part%201-%20Developing%20a%20Regional%20Tradition.%20Architectural%20History,%2032,%20152%E2%80%93172..pdf) helps explain why modern post-frame projects can erect a shell with fewer structural members than conventional stick framing.
The history explains the structural efficiency. It doesn't eliminate the decisions around the structure. Before you compare builders, make five decisions in order:
- Define the finished scope. Decide whether you want a shell, a weather-tight shell, or a completed residence with inspected utilities and interior finishes.
- Test the land. Confirm access, zoning, utilities, soil conditions, drainage, and the actual buildable area.
- Choose the financing path. A construction loan, cash build, owner-builder arrangement, or separate land and construction loans each impose different requirements.
- Confirm the code route. Ask whether the jurisdiction applies the International Residential Code, the International Building Code, or another local standard.
- Approve the engineered package. Foundation reactions, anchors, frost depth, wind, snow, truss bracing, and connection details must align before materials are ordered.
Builder's rule: Don't compare the headline price of three shells. Compare three complete scopes against the same plans, site assumptions, engineering requirements, and finish schedule.
Your first action this week is simple. Create a one-page scope sheet listing the living area, shop or garage area, foundation type if known, utility assumptions, insulation approach, interior finish level, and who owns each task. Send that same sheet to every builder. If a quote can't be compared line by line, it isn't ready to sign.
Shell Versus Turnkey and Why the Choice Changes Everything
Shell and turnkey aren't two prices for the same project. They transfer responsibility differently, and that transfer affects scheduling, financing, quality control, and your exposure to change orders.
A shell package usually centers on the structural and weatherproof exterior. Depending on the contractor, it may include site work, the foundation, posts or steel framing, roof panels, wall panels, exterior openings, windows, and doors. It may leave you responsible for interior framing, plumbing, electrical, heating and cooling, insulation, drywall, cabinets, flooring, fixtures, inspections, and coordination between trades.
A turnkey package places most of those responsibilities under one contract. That doesn't mean every turnkey quote includes everything. You still need to confirm utility connections, driveway work, septic or well work, appliances, permit fees, engineering, landscaping, and allowances. “Turnkey” is a sales label until the inclusions and exclusions appear in writing.
| Scope Item | Shell Package | Turnkey Package |
|---|---|---|
| Site preparation | May be included or excluded | Usually assigned to the main contractor, but verify limits |
| Foundation | Often separate or limited to a stated allowance | Typically coordinated with engineering and shell installation |
| Structural frame and exterior skin | Core scope | Core scope |
| Windows and exterior doors | May be included | Usually included, with product specifications stated |
| Interior framing | Buyer or separate trade | Usually included |
| Plumbing, electrical, and HVAC rough-ins | Buyer coordinates trades | Main contractor coordinates, subject to plan and allowance |
| Insulation and air sealing | Often excluded from shell pricing | Usually included, but verify system and coverage |
| Drywall and interior finishes | Buyer responsibility | Included to the stated finish level |
| Permits and inspections | May remain with owner-builder | Usually managed by the general contractor |
| Final certificate of occupancy | Owner must confirm responsibility | Contractor should manage closeout, but the contract must say so |
Shell delivery fits an owner-builder who has construction experience, time to coordinate trades, and enough control over cash flow to handle uneven draw timing. It can also suit someone who already has trusted electricians, plumbers, insulators, and finish crews.
Turnkey is the safer recommendation for a first-time buyer who has a full-time job, limited trade relationships, or a firm move-in requirement. You'll give up some direct control, but you reduce the number of handoffs where one contractor blames another for missing work.
If you choose a shell, appoint one person to own the interior schedule. Without a general contractor or experienced owner-builder in that role, the project can sit weather-tight but unlivable while trades wait on one another.
Ask each bidder to mark every line as included, excluded, or allowance. An allowance isn't a guaranteed price. It's a placeholder that can move when the actual product, soil condition, utility distance, or engineering requirement becomes known.
Getting the Land, Money, and Permits Lined Up First
The site can look perfect and still be unready for construction. A rural parcel needs more than a road and a view. Before you pay a builder deposit, verify legal access, the buildable area, drainage, flood or wetland constraints, soil suitability, utility availability, and the route for construction equipment.
Start with a land-readiness file. Put the deed or access documentation, survey, zoning response, soil information, utility correspondence, and preliminary site plan in one folder. Ask the building department whether a residence inside a post-frame or metal structure is permitted on that parcel. A county may allow agricultural buildings while restricting residential use, or it may impose design requirements that change the shell plan.
Financing must precede land commitments
Financing is where many attractive plans stop. Construction loans are generally short-term draw loans lasting 12 to 18 months, and some lenders may require the financing to be locked before you purchase the land. This overview of barndominium financing explains why the land purchase, construction budget, draw schedule, and finished valuation need to be considered together.
Talk to lenders before selecting a kit or signing a land contract. Ask whether the lender accepts a shell-to-finish project, whether an owner-builder is permitted, what builder credentials are required, how draws are released, and what documents the appraisal needs. A lender that understands rural property and nontraditional construction is more useful than one that merely offers a familiar mortgage product.
Use this construction loan resource for barndominium projects to organize lender questions, but treat the lender's written requirements as the controlling checklist.
The code classification controls the design
Your next call should be to the permitting authority, not the steel supplier. Ask whether the living portion will be reviewed under the International Residential Code, or IRC, or the International Building Code, or IBC. Confirm whether owner-builder permits are allowed, whether stamped structural plans are required, and whether the county has residential-use restrictions for post-frame or metal buildings. This guidance on barndominium permits and code requirements outlines why those local decisions can alter engineering, documentation, and the approval sequence.
Request the permit submittal checklist in writing. Then have the designer and engineer build the plans around that checklist. Don't order a shell based on a sales drawing that hasn't been reconciled with zoning, foundation requirements, local loads, and inspection procedures.
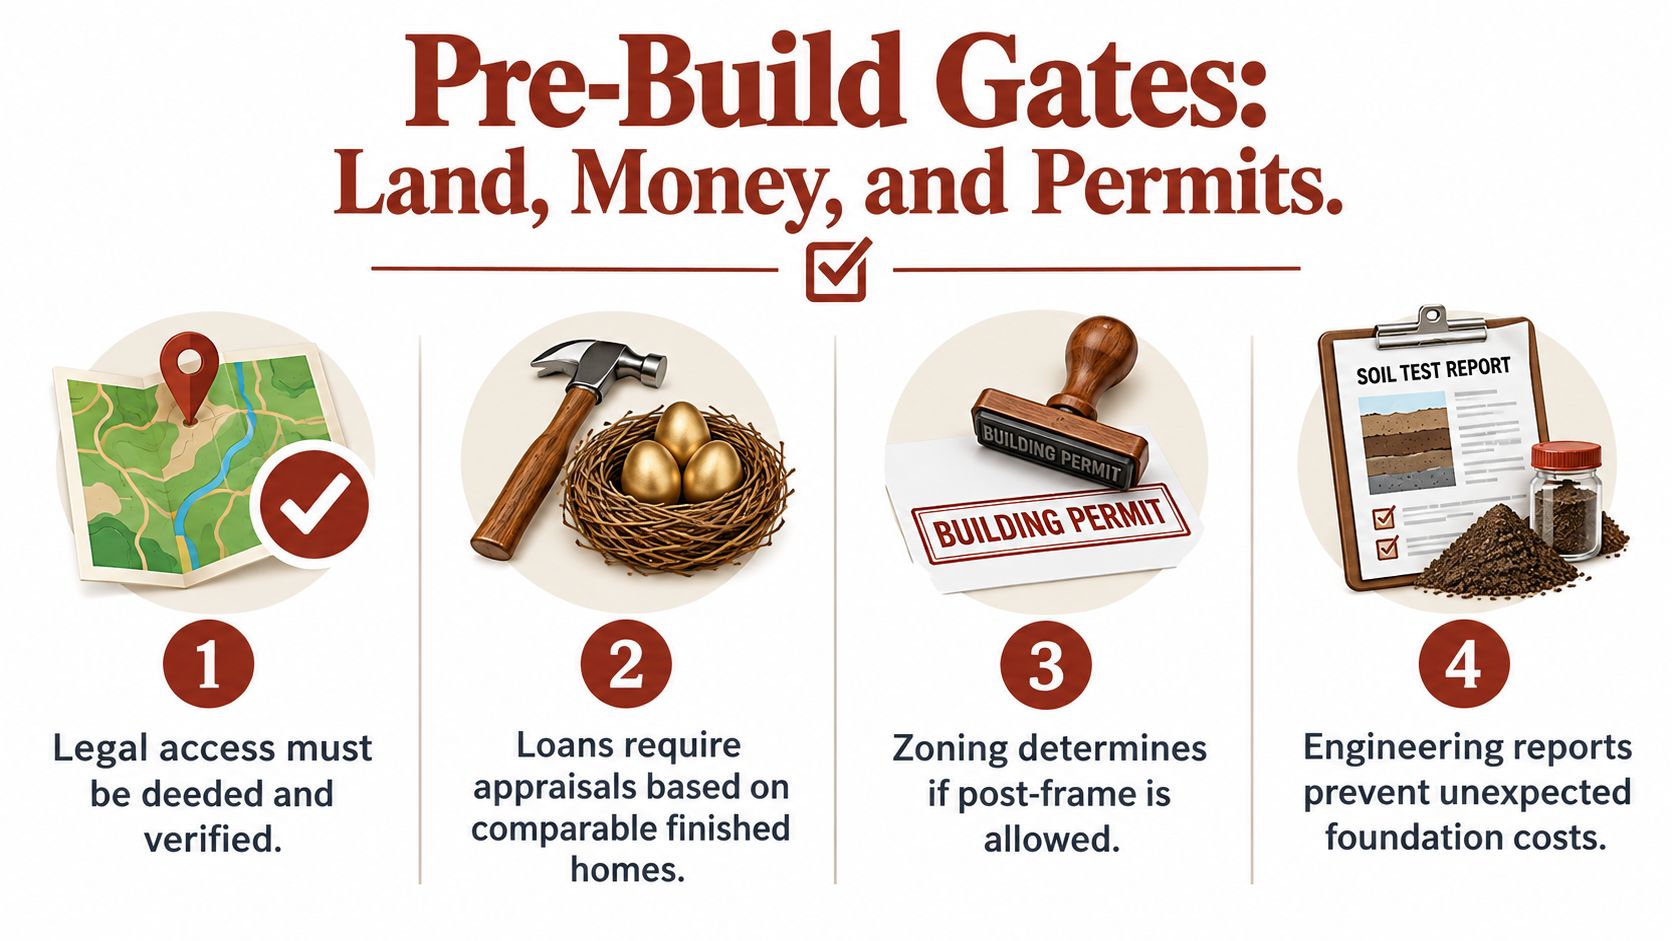
Your decision gate is passed only when you have a buildable site, a lender-approved project structure, and a permit path supported by the right plans. Until then, a builder quote is a planning document, not a construction start date.
The Build Itself From Site Prep to Finishes
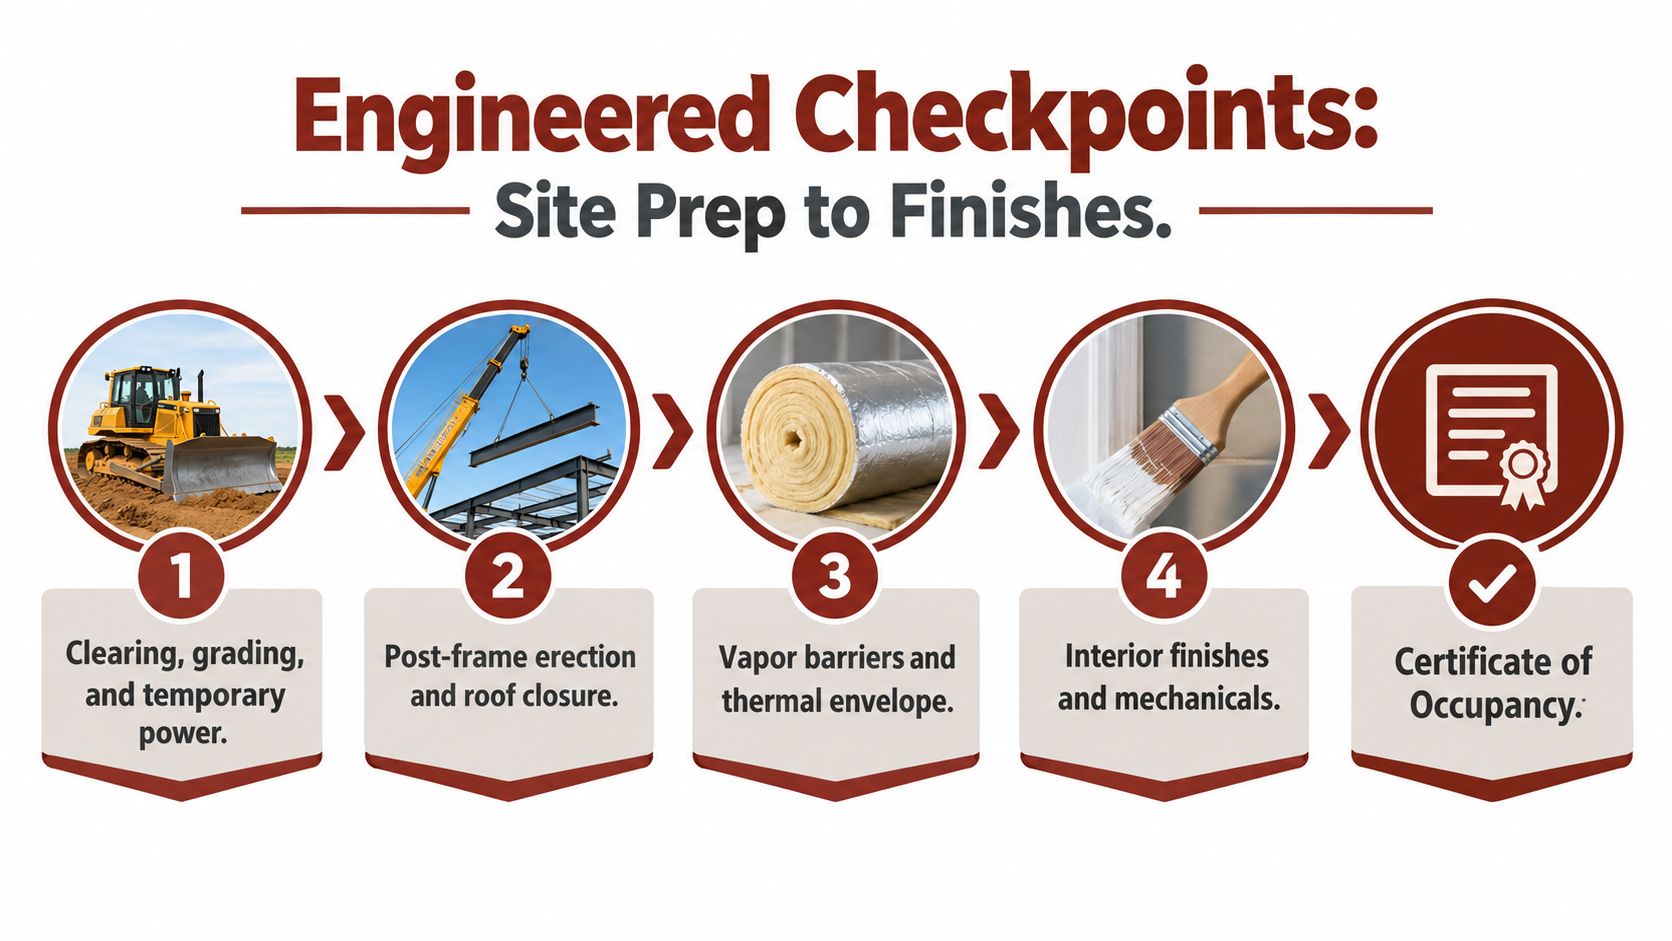
Once financing, land readiness, and the permit path are settled, the physical build should follow engineered checkpoints. Set a clear handoff between every trade. If work starts before the previous stage is checked, errors get buried inside concrete, framing, insulation, or finishes, where correction costs more and slows the schedule.
Site preparation sets the physical limits
Site work usually begins with clearing, grading, drainage preparation, driveway access, and a staging area for materials and equipment. Plan temporary power and a construction driveway that can support concrete deliveries. A site that becomes impassable after rain can stop foundation work even when the crew and materials are ready.
Check the site against the approved plan before excavation begins. Confirm the building corners, finished-floor elevation, setbacks, drainage direction, utility routes, and locations for septic or well systems. Moving the building after grading can change access, foundation design, drainage, and permit compliance.
Use this site preparation builder search to find excavation and grading help, then ask who owns layout, drainage, driveway access, temporary utilities, and correction work when site conditions differ from the estimate.
The foundation must match the engineering
A slab-on-grade, pier-and-beam system, or stem wall must be selected from site and building requirements, not appearance. Soil conditions, frost depth, drainage, structural loads, and local rules determine the suitable foundation. This foundation guidance for metal buildings explains why the foundation must coordinate with the building's reaction data, anchor-bolt layout, reinforcement, and local design conditions.
Before concrete placement, verify:
- Anchor locations: Compare the bolt pattern with the engineered shell drawings.
- Elevation: Confirm the finished slab height and door transitions.
- Reinforcement: Check that steel, footings, thickened edges, and penetrations match the plans.
- Embedded items: Install sleeves and utility penetrations before the pour.
- Inspection release: Obtain the required foundation inspection before covering the work.
Do not accept a generic foundation sketch from a shell supplier as the final answer. The foundation connects the site to the building. A mistake here can delay shell erection and force rework before the frame stands.
Erect the shell and close the exterior
After the foundation reaches the required condition, the crew installs posts or structural steel, trusses, purlins, girts, roof panels, wall panels, windows, and doors. The steel shell may be erected in one to three weeks once materials arrive, while a 2,000-square-foot metal shell can be framed in two to three weeks, according to the staged timeline guidance from DuraPedia's barndominium construction overview.
Treat that period as the structural phase, not a move-in forecast. Weather, missing components, incorrect anchors, access problems, and inspection requirements can interrupt the sequence. Before interior trades begin, verify that the roof and walls are closed, openings are flashed, water drains away from the structure, and the shell has passed the required framing inspection.
Coordinate MEP rough-ins before insulation
Plumbing, electrical, HVAC, low-voltage wiring, and ventilation must be planned before insulation and wall finishes conceal the work. Mark every penetration, chase, equipment location, drain, outlet, light, and service panel on the plans. Resolve conflicts between duct routes, trusses, plumbing lines, and structural members with the designer or engineer. Never cut structural components in the field to save a trade a return visit.
Insulation follows rough-ins and required inspections. The assembly must address thermal performance, air sealing, moisture control, and local vapor requirements. Even a suitable insulation product will perform poorly if gaps remain around windows, penetrations, outlets, transitions, or the slab edge.
Finishes and closeout come last
Interior framing turns the open shell into rooms, storage areas, utility spaces, and service access. Drywall, paint, cabinets, trim, flooring, appliances, fixtures, and final mechanical connections follow. Keep a written finish schedule, and require your approval before anyone substitutes products.
Closeout involves more than collecting a punch list. Complete the required framing, rough-in, insulation, and final inspections, then gather the documents needed for the certificate of occupancy. The National Frame Builders Association material on bracing and failure prevention emphasizes proper bracing and connections, including truss bracing and purlin-to-truss connections. Have the engineer or responsible inspector verify critical details before finishes conceal them.
A useful visual explanation of the shell-to-finish sequence is available below.
How Long the Barndominium Construction Process Really Takes
A buyer hears “the shell goes up fast” and assumes the whole house is close behind. That is the mistake that blows up schedules.
The steel shell is only one slice of the job. Planning, financing, permits, utility coordination, inspections, rough-ins, insulation, and finishes set the pace. Independent construction guidance places a typical overall barndominium timeline at about four to eight months or five to twelve months, depending on where the clock starts. The shell itself may take only one to three weeks after materials arrive.
| Build Phase | Typical Duration | Fast-Track Duration | Worst-Case Duration |
|---|---|---|---|
| Planning, financing, and permits | 1 to 4 months | Faster when plans, land, lender, and permit path are already aligned | Extended by revisions, lender conditions, or review delays |
| Site preparation and foundation | 2 to 6 weeks | Moves quickly on a ready, accessible site | Stalls when drainage, soil, access, or inspection issues appear |
| Shell erection | 1 to 3 weeks after materials arrive | Fast when the package is on site and the crew is scheduled | Delayed by material gaps, weather, anchor problems, or inspection holds |
| Rough-ins and insulation | 3 to 6 weeks | Trades move quickly from coordinated plans | Rework happens when penetrations, equipment, or inspections are missed |
| Interior finishes and closeout | 6 to 12 weeks | Shorter when selections are locked in early and trades are lined up | Stretches with substitutions, backorders, punch-list items, or final approval delays |
Where the calendar actually moves
Pre-build work is where projects lose time. A lender may ask for revised plans. A county may want more engineering. A utility provider may send you back for a different connection route. None of that produces visible progress, but it decides whether the crew can start.
On site, weather slows excavation, concrete, deliveries, and exterior work. Utility taps can sit outside the builder's control. Window, door, steel, and mechanical equipment availability can also interrupt the sequence. Inspection backlogs add another drag, especially when a trade has finished work but cannot move on until the sign-off is recorded. For a staged timeline reference, the staged process and timeline ranges are useful, but the key lesson is simple: structural speed does not erase administrative delays.
Speed has a price
You can shorten the schedule by finalizing selections early, paying for coordinated engineering, hiring a builder with available crews, and making decisions fast. Those choices can raise upfront cost because expedited materials, extra supervision, or premium scheduling usually cost more.
The practical goal is not the shortest advertised timeline. It is a believable schedule with a named owner for every dependency. Ask the builder to list the permit date, material-order date, foundation release, shell start, rough-in inspections, insulation approval, finish start, final inspection, and certificate-of-occupancy target. If those milestones are not written into the plan, the timeline is just a wish.
Choosing and Vetting a Builder With Confidence
A builder can be excellent at erecting agricultural structures and still be a poor fit for a residence. You need evidence that the contractor has completed barndominiums or comparable post-frame residential projects, understands residential inspections, and can coordinate the interior work you expect.
Start with a shortlist that includes barndominium specialists, post-frame contractors, metal-building erectors, and general contractors with documented residential metal-building experience. Ask for completed-project addresses, photographs showing interior work, and references from owners who hired the builder for a similar delivery model.
Compare scope before personality
Price and communication matter, but scope comes first. Put each proposal into a comparison sheet and mark:
- Permit responsibility: Who prepares, submits, revises, and closes the permit?
- Foundation responsibility: Who owns engineering, excavation, concrete, anchors, and corrections?
- Site exclusions: Are clearing, grading, drainage, driveway work, utilities, septic, and well work included?
- Interior allowances: What products and labor levels sit behind cabinets, flooring, fixtures, insulation, and HVAC?
- Change orders: How are changes priced, approved, scheduled, and capped?
- Closeout: Who obtains inspections, lien waivers, warranties, as-built information, and the certificate of occupancy?
Use a builder question checklist such as these questions for interviewing a barndominium contractor. Ask the same questions to every candidate. A confident builder should be able to explain exclusions without becoming defensive.
Verify the company, not just the portfolio
Call references and ask what happened when something went wrong. Did the contractor return calls? Were change orders documented? Did the final inspection happen on schedule? Did the owner discover unfinished work after the builder considered the project complete?
Visit an active jobsite if the builder permits it. Look at material storage, weather protection, housekeeping, bracing, and whether the crew follows the plans. A polished gallery shows the result. An active site shows the builder's habits.
Walk away when: the deposit is unusually large, the schedule is only verbal, exclusions are missing, insurance documentation is unavailable, or the contractor won't identify who handles permits and final occupancy approval.
Before signing, request a current certificate of insurance, applicable license information, written payment milestones, a change-order procedure, a warranty package, and the names of subcontractors responsible for major systems. Have a construction attorney review the contract if the project value or owner exposure is substantial.
The right builder isn't just the one with the lowest shell price. It's the one whose written scope matches your financing, code path, site conditions, and ability to manage everything outside the shell.
Your Move-In Checklist and Final Takeaways
A finished-looking building isn't necessarily ready for occupancy. Before releasing the final payment or moving furniture inside, turn the project into a document and inspection checklist.
Documentation
Collect the certificate of occupancy, final inspection approvals, lien waivers, warranty information, approved plan set, as-built drawings, survey, soil report, product manuals, and records for the well or septic system if applicable. Confirm that revisions and approved substitutions are reflected in the final file.
Inspections and testing
Walk the home with the builder and inspect the final framing, roof and wall penetrations, insulation coverage, air sealing, electrical devices, plumbing fixtures, HVAC operation, drainage, doors, windows, and life-safety equipment. Arrange any required blower-door, well, septic, or mechanical testing before closeout.
Financial closeout
Match every draw to completed work. Resolve allowances and change orders in writing, obtain final lien releases, confirm the last retainage or payment amount, bind the correct homeowner's insurance, and retain tax and permit records. Don't release the final payment merely because the builder says the project is complete.
Homeowner readiness
Transfer utilities, label electrical panels and shutoffs, gather appliance manuals, record paint and finish products, and create a maintenance plan for metal roofing, wall panels, sealants, gutters, HVAC filters, and drainage. Schedule a defect walkthrough after the home has experienced normal weather and use, then keep a written record of anything corrected.
The opening buyer with three quotes needs to make three judgments before choosing a contractor. Shell or turnkey determines who carries coordination risk. IRC or IBC determines the design and approval route. Land, financing, and permit readiness determine whether construction can start at all. Once those gates are settled, the work becomes a sequence of engineered handoffs from site preparation to the certificate of occupancy.
Take one practical step this week. Build your scope sheet, call the permitting office, and ask two lenders whether they finance your proposed delivery model before you authorize a shell order.
BarndoBuilderList helps buyers research barndominium-friendly builders by state or ZIP code, compare documented scope signals, and start a more focused shortlist for shell or turnkey work. Visit BarndoBuilderList to find candidates you can question about land readiness, permits, financing requirements, and the full construction process.
- barndominium construction process
- barndominium build timeline
- shell vs turnkey barndominium
- barndo permits and financing
- barndominium foundation guide